For the first round of tests, I tested a new GNOME Sound Settings design. The tasks to be tested were:
- Changing the volume of an application
- Muting an application
- Changing the output device
- Changing balance
- Changing the alert sound
- Finding the documentation for the sound settings
You can check the whole test plan here.


User Profile
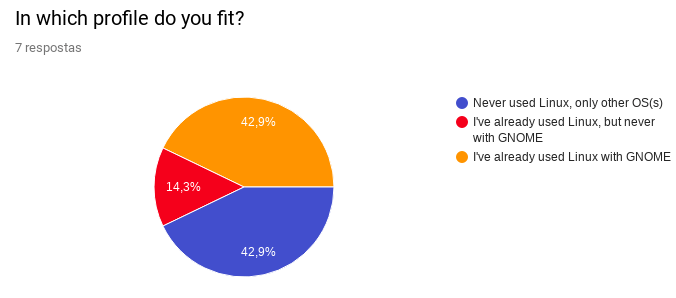
For this round of tests, I’ve schedule tests with 7 volunteers. I looked for users with different computer experiences, with or without experience with Linux and GNOME.
Age

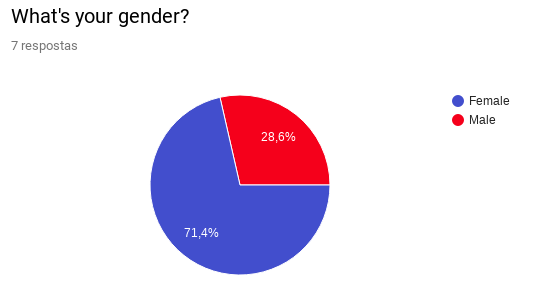
Gender
Computer usage

GNOME/ Linux usage
Results
Changing the volume of an application
1. You are trying to watch a tutorial on YouTube and listen to music at the same time. You find the music is too loud and is distracting from the video. Using GNOME Settings, turn down the volume for the music player program.
Most of the users were able to do so instantly, they understood where the sounds came from and that sliding the button from the music player volume to the left would turn the volume down.

Only one of the users couldn’t accomplish the task in the first attempt, but I believe that she couldn’t complete the task this fast because she didn’t understand very well where did the sounds come from, or she didn’t understand that she could turn the volume down of just a single application, but I don’t think this is something wrong with the design, because as soon as she figured out that she could do so, she completed the task with no problems.
Muting an application
2. You have finished watching your YouTube video and have closed the browser tab. But you find that online ads on other websites sometimes play sounds that bother you when you are trying to work. Using GNOME Settings, make the web browser stop playing sounds.
All of them could complete this task very quickly, but one of them did not mute the application by clicking the mute icon, she turned the volume down until it muted, but I think it was just a matter of her first reflex when I asked. This is not a problem, as the result was the same as clicking on the mute icon.
One of them clicked accidentally on the wrong application to mute – just due to not being used to use a touchpad instead of a mouse – and I noticed it was not clear for her whether the application was muted or not.


Changing the output device
3. Your friend has approached you and wants to listen to the music that you are listening to. Change it so the music plays out of the laptop instead of the headphones.
This one was a bit harder for some of them, they were confused by the “input devices” too, but maybe it was something to do with the language, as in Portuguese the word “input” may be equivalent to the “headphone jack” in the computer. They had to be paying very much attention not to confuse.
I asked them how it would be clearer to them where to change the output devices and they said it would be easier if there was an icon with a headphone on output devices and an icon with a microphone on input devices.

Changing balance
4. Your headphones are very old, and one headphone doesn’t work quite right. The music playing right now works so much better on the left side of your headphone! Try to make it play louder on the left side.
All of them completed this step with no problems, the slider is very clear about what is it for.

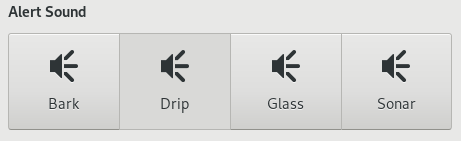
Changing the alert sound
5. You think the system’s alert sound is too annoying and you want to change it. Find one that you like better.
They didn’t have any issues with this task, this design is clear enough for them to understand how to do so.
Finding the documentation of Sound Settings
6. Now that you’ve changed so many settings on your sound, you want to find out more things you can do. Find some place where you can read about the sound settings.
This one was harder. In Portuguese, people that are not very close to programming and etc are not very familiar to the word “documentation” in the context of computer programs and etc, so most of the times they didn’t understand what they were looking for at first, I had to induce them to understand what I was asking.
Even when I left the tips, they didn’t find it easy to find this. They took very long walking through the whole application until they found it, and two of them weren’t able to find. I’ve asked them what they were first looking for and they said they were looking for a question mark icon, maybe it would be a more evident option.
Final considerations
Most of the results were very positive, the design is clear enough for them to understand, even for the ones who are not that familiar with Linux or GNOME. What I learned from this experience is that language is something I should care even more about, as when I’m testing I translate the scenario tasks to Portuguese. For the next rounds, I’ll try harder to put myself into their contexts while writing the scenarios.
Also, the quantity of testers was more then enough to find the problems, the last three of them did not bring any more information I didn’t learn with the first of them. But still, I’d keep 7 testers to make sure I’ve found all of the design improvements that can be made.

Good job! I love this kind of reports. Really let you dive into how software can be improved.
Came here from a post by Georges Stavracas.
LikeLiked by 1 person
Thank you! =)
LikeLike
Stuff like adding a microphone icon, a headphone icon and a question mark icon would make all the difference. This is why user testing is so important! Thanks dude
LikeLiked by 1 person
Thank you! =)
LikeLike
Maybe the input device problem could be helped by rewording “Input device” to “Recording device”? Just a thought.
LikeLike